


*****************************
Hi! My name is Shannon and I blog at Madigan Made… where creative living is made simple.
And I should tell you that I’ve been called the Clark Kent of craft blogging. Why? Well, by day I work as a pharmacist and by night I try to help my readers find easy and elegant solutions for their home. I love to blog about simple crafts, DIY décor and easy recipes. I’m delighted to be here to chat with you today so that Amanda can spend more time with her new baby.
How do you make your gift giving and holidays special?
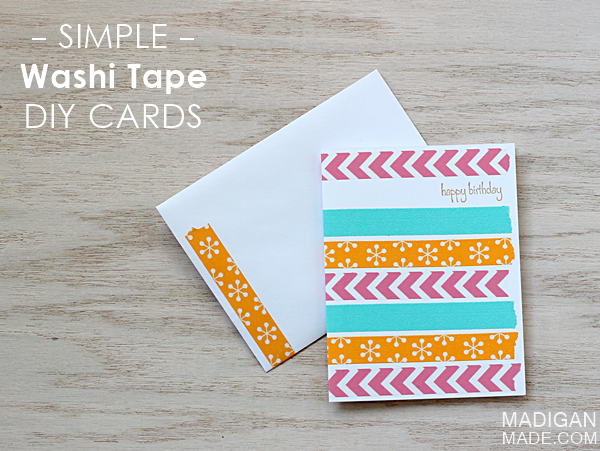
I’m a big fan of handing out handmade greeting cards… but I also strive to keep the card making process simple. (I love simple!) I enjoy showing my readers how easy it is to make handmade cards… and washi tape is one of the easiest ways to decorate a card. I made these cute cards recently and thought I’d share with you how I made them. It is really simple.
Easy Handmade Washi Tape Card
Supplies needed:
- White card stock (8.5” x 11”)
- Invitation size envelopes
- Paper cutter
- Washi tape, various patterns
- Small stamp with greeting
- Stamp pad
- Scissors
Instructions:
First, cut your cardstock in half so you have two sheets that are 5.5” x 8.5”. Fold that piece in half to create a card.
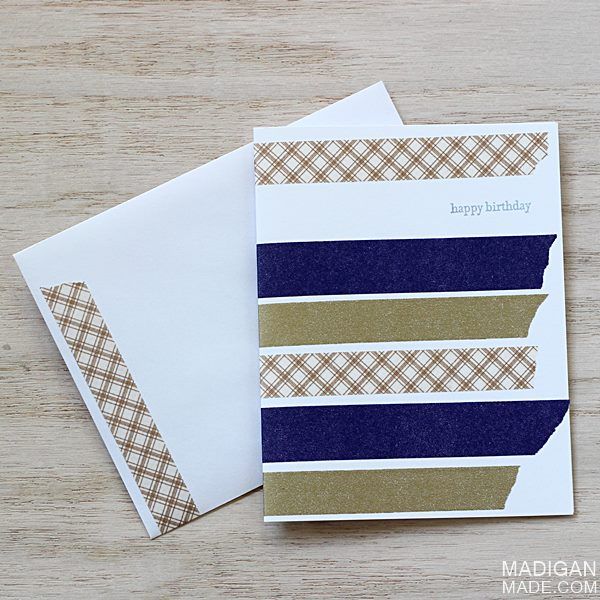
Then you just need to decorate your card using the washi tape. You can get creative with different patterns and colors… but I am partial to stripes! Just apply the tape and trim the ends neatly with scissors (or rip the tape if you like that look).
Stamp an open area of the card front with your greeting. Don’t forget to decorate your envelope, too! The folded card should fit perfectly inside.
Give your cute card to the recipient and tell them that, yes, you made it! (just don’t tell them how easy it was to make!)
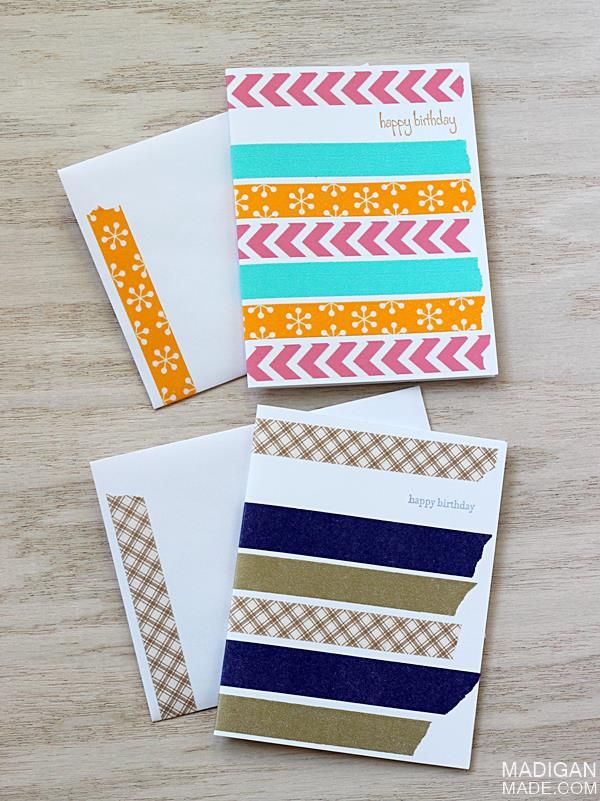
I love that you can change the look and theme of the card just by switching out the colors and patterns of tape you are using. You can make one for any holiday or occasion!
If you wanted more ideas for simple, creative living, I’d be delighted if you joined me on Madigan Made or followed me on Pinterest, Facebook or Twitter!
- Shannon
***********************
Thanks, Shannon! I love how easy it is to customize this project. Oh, the possibilities!!
If you enjoyed this post or found it helpful, I hope you'll click your "Pin It" button to add this post to Pinterest, or a +1 for Google+. And I always appreciate kind comments.


Cute! What a clever little idea!
ReplyDelete